Overview
The MoneyKit Connect SDK offers a fast and secure method to connect bank accounts directly within your web application. This pre-built framework facilitates linking to a financial institution within your app, ensuring the handling of connections without transmitting sensitive data to your server.
Installation
To begin using Connect simply add the @moneykit/connect package to your project's dependencies.
Usage
To use MoneyKit Connect you must first create a Link Session via the MoneyKit API to acquire a Link Session Token.
Once you have a Link Session Token, create your MoneyKit Connect instance:
Configuration options may also be provided to customize Connect's behavior. See Configuration for details.
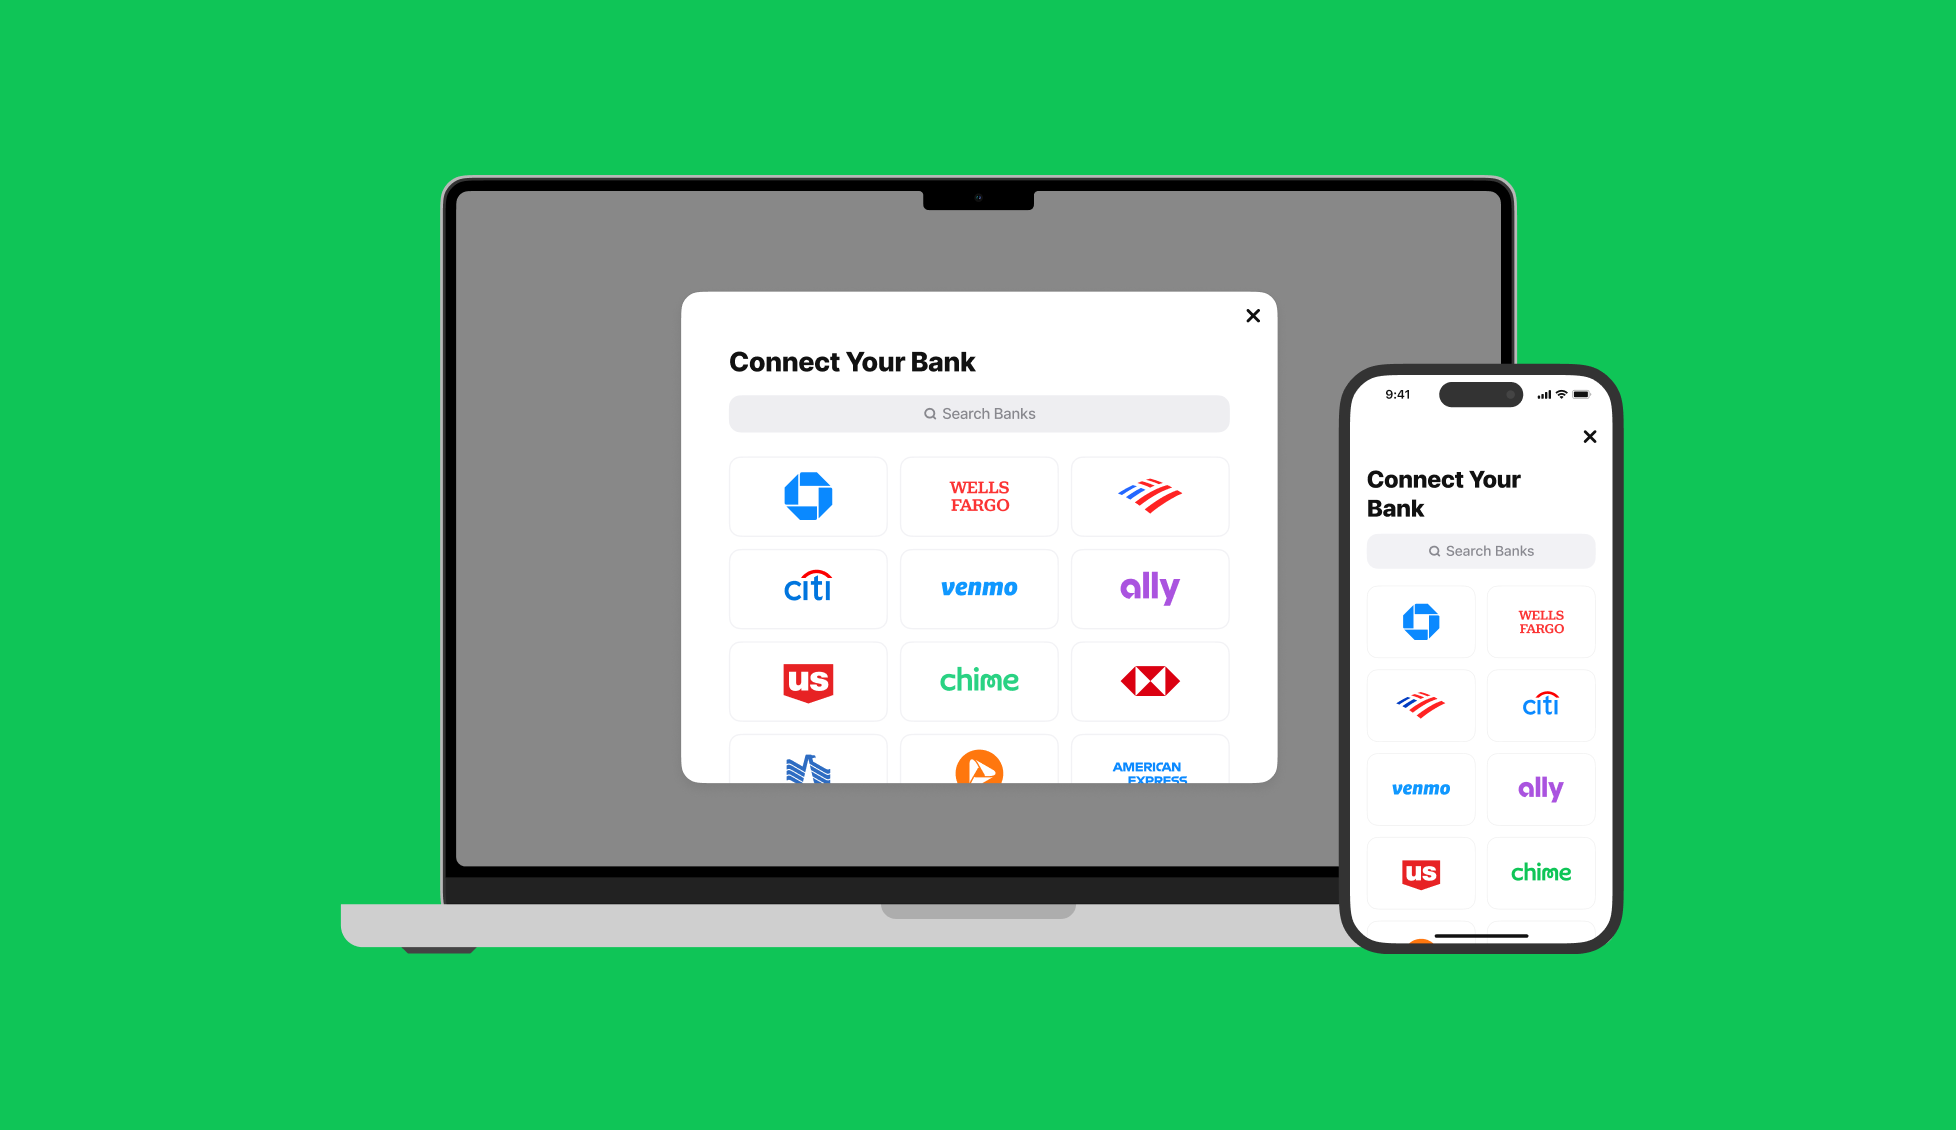
You may then launch the MoneyKit Connect flow by calling link() with your link session token. This will open a popup window to MoneyKit Connect in which the user may select and log into their financial institution, select their accounts and grant permissions before handing off back to your application.
Note that to support financial institutions that require OAuth login it is required that you also provide a
redirect_uri when creating your Link Session. This URI should point to a page within your app which re-initializes
MoneyKit Connect via its continue() method. This method requires the URL that was redirected to as its first
parameter (the URL should include any query parameters appended by MoneyKit during the redirect).
The link, continue and relink methods accept the same three optional callbacks which you may use to handle the results of the Connect flow:
onLinkSuccess: called when the linking process completes successfully. This callback will be passed two parameters: an exchangeable MoneyKit API token (see Link Token Exchange) and the Institution which was linked. The linked institution also includes a subset of data from financial accounts linked by the user including account type, name and mask.onLinkExit: called whenever the Connect process is exited manually by the user or due to an unexpected error.onLinkEvent: called with anEventobject whenever certain events occur throughout the Connect flow, as indicated by the Event object parameter. These may be used to tailor or notify your application as a user progresses through a link or for analytics purposes.
OAuth
When a user's financial institution uses OAuth for login, the user will be temporarily navigated to the institution's login page before being returned to your application.
In most cases the OAuth page will be opened as a new popup window. Upon successful authorization with the institution this window will navigate back to the redirect_uri you specified when creating your Link Session. (Note that on mobile browsers such as iOS Safari this window will be opened as a new tab instead of a popup.)
When you call continue() from your app after receiving this redirect, the OAuth window will be closed and the Connect flow will resume back in the original window.
Note on Webview usage
If Connect is launched inside of a mobile webview (such as one embedded within a native iOS or Android app) where it is not permitted to open a new window or tab, this will be detected by Connect and instead the topmost window in the window hierarchy will be navigated to the OAuth page. This window will then redirect back to your redirect_uri as normal. Calling continue() in this scenario will re-launch Connect and allow the user to proceed with their in-progress link.
Example
Relinking
In the event that a user's existing link has expired (e.g. due to the financial institution requiring periodic user re-authorization) your MoneyKit API requests will respond with an auth_expired error.
To re-authorize the user you may call relink() with a link session token and callbacks identical to those for the link() method. In this case the link session token must have been created with the existing_link_id field set to the ID of the link you wish to re-authorize.
Connect will be opened as normal, however the institution selection step will be bypassed and the user will be immediately prompted to log in to the institution and re-authorize the connection.
Link Token Exchange
To finalize the connection and acquire a link ID with which to make subsequent API requests, you must pass your exchangeable token received upon completion of a user's connection to your secure backend service. It should then exchange the token for a link ID via the MoneyKit API.
Configuration
When initializing MoneyKit Connect you may optionally provide it with an options object.
Currently the following options are supported:
-
containerID— The ID of the DOM element to which Connect and it's overlay will be appended. If not provided, Connect will be appended to the document body by default. -
theme— MoneyKit Theme object which contains custom overrides for the default theme. You can learn more about theming options from this guide.
Data Types
LinkedInstitution
A LinkedInstitution will be returned to your link success callback functions and includes the following data.